-40%
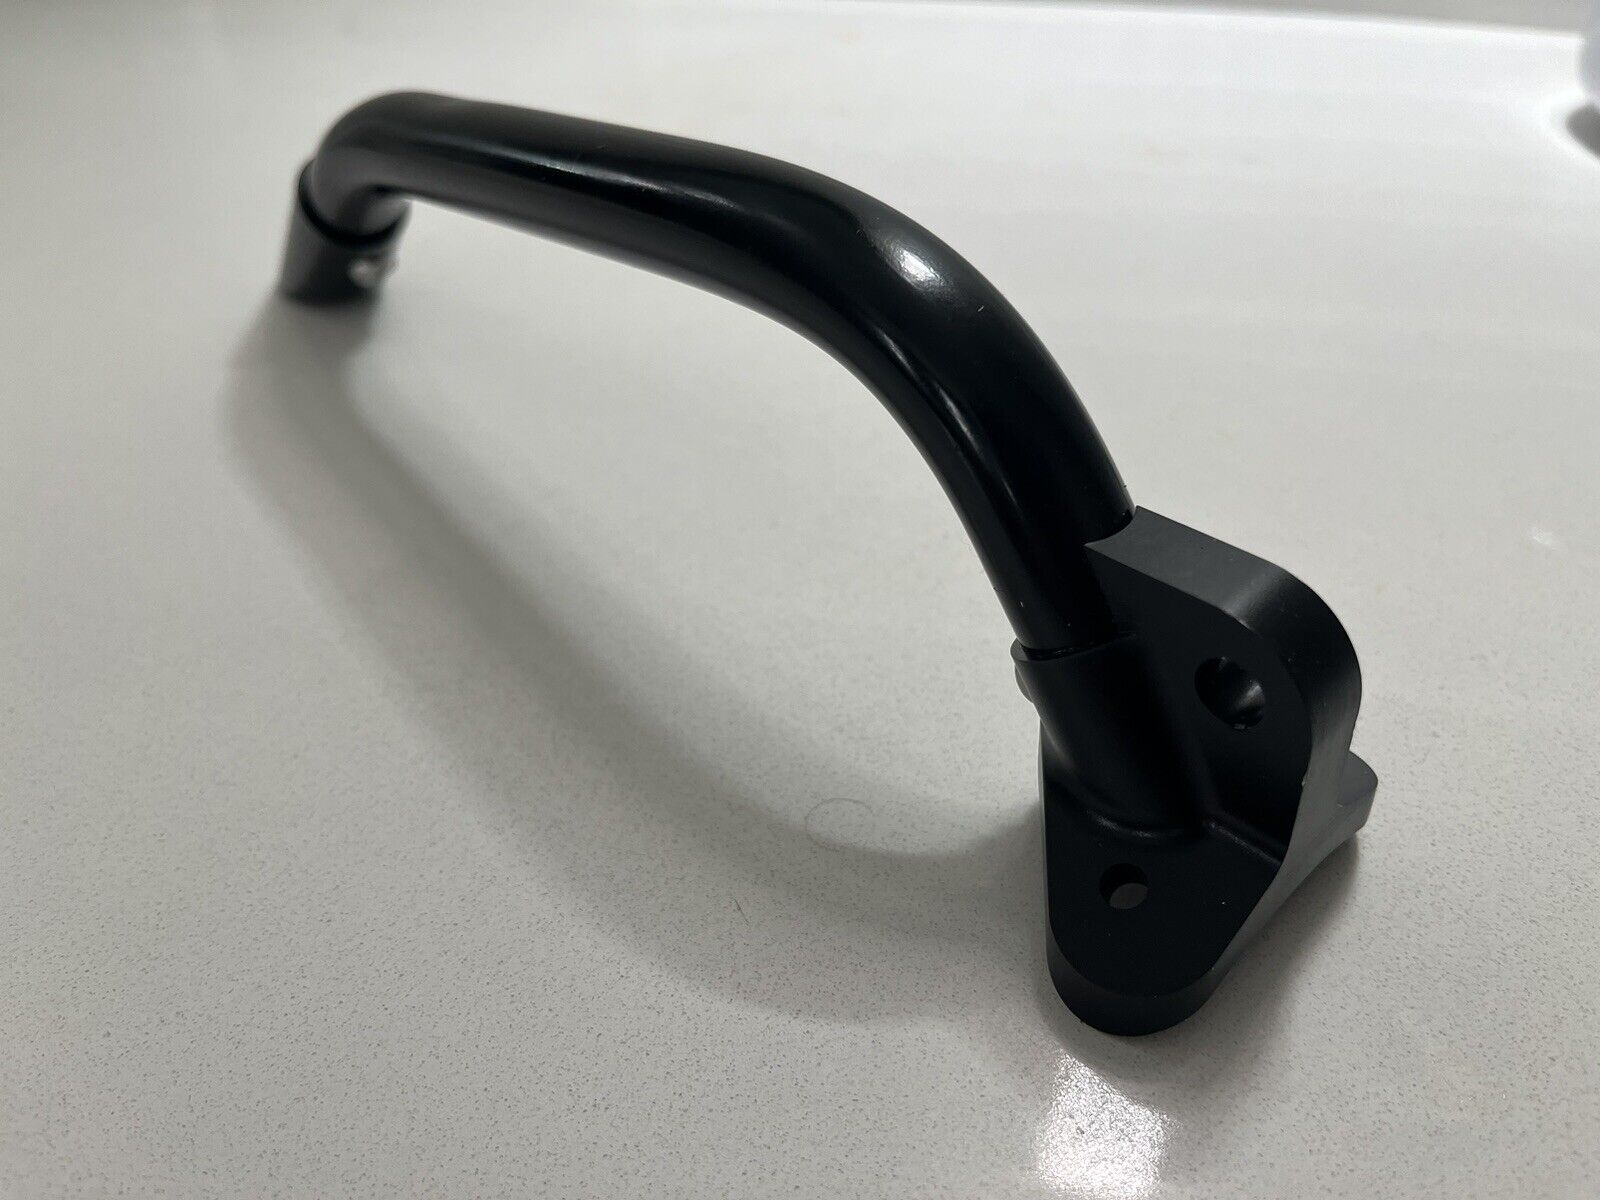
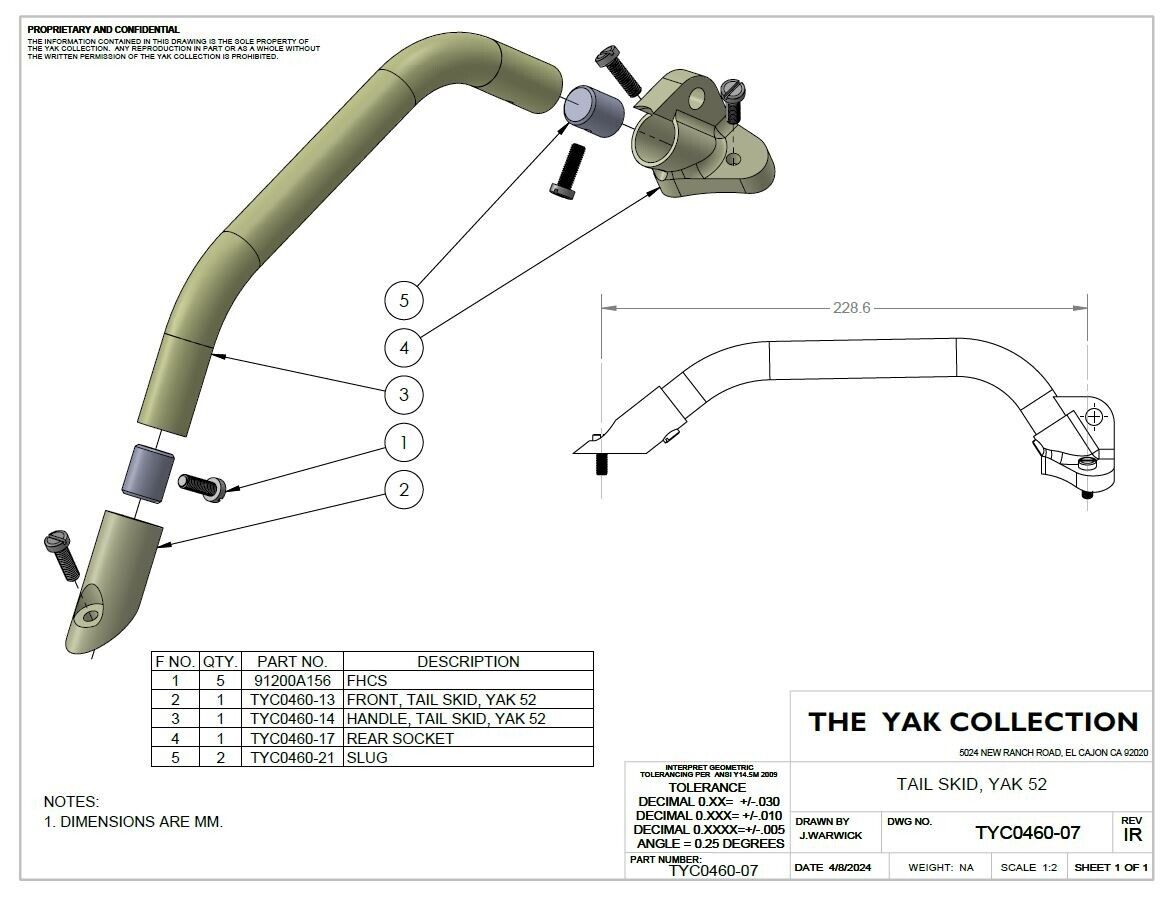
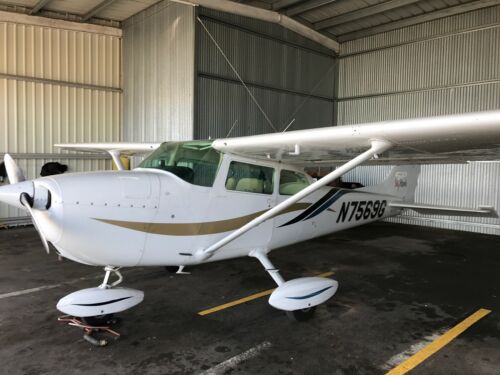
Yakovlev 52 Repro Tailskid
$ 151.75
- Description
- Size Guide
Description
FREE SHIPPING IN CONTINENTAL USHas your Yak 52’s tailskid seen better days?
Will it survive another tail strike?
It’s an overlooked component that serves several purposes.
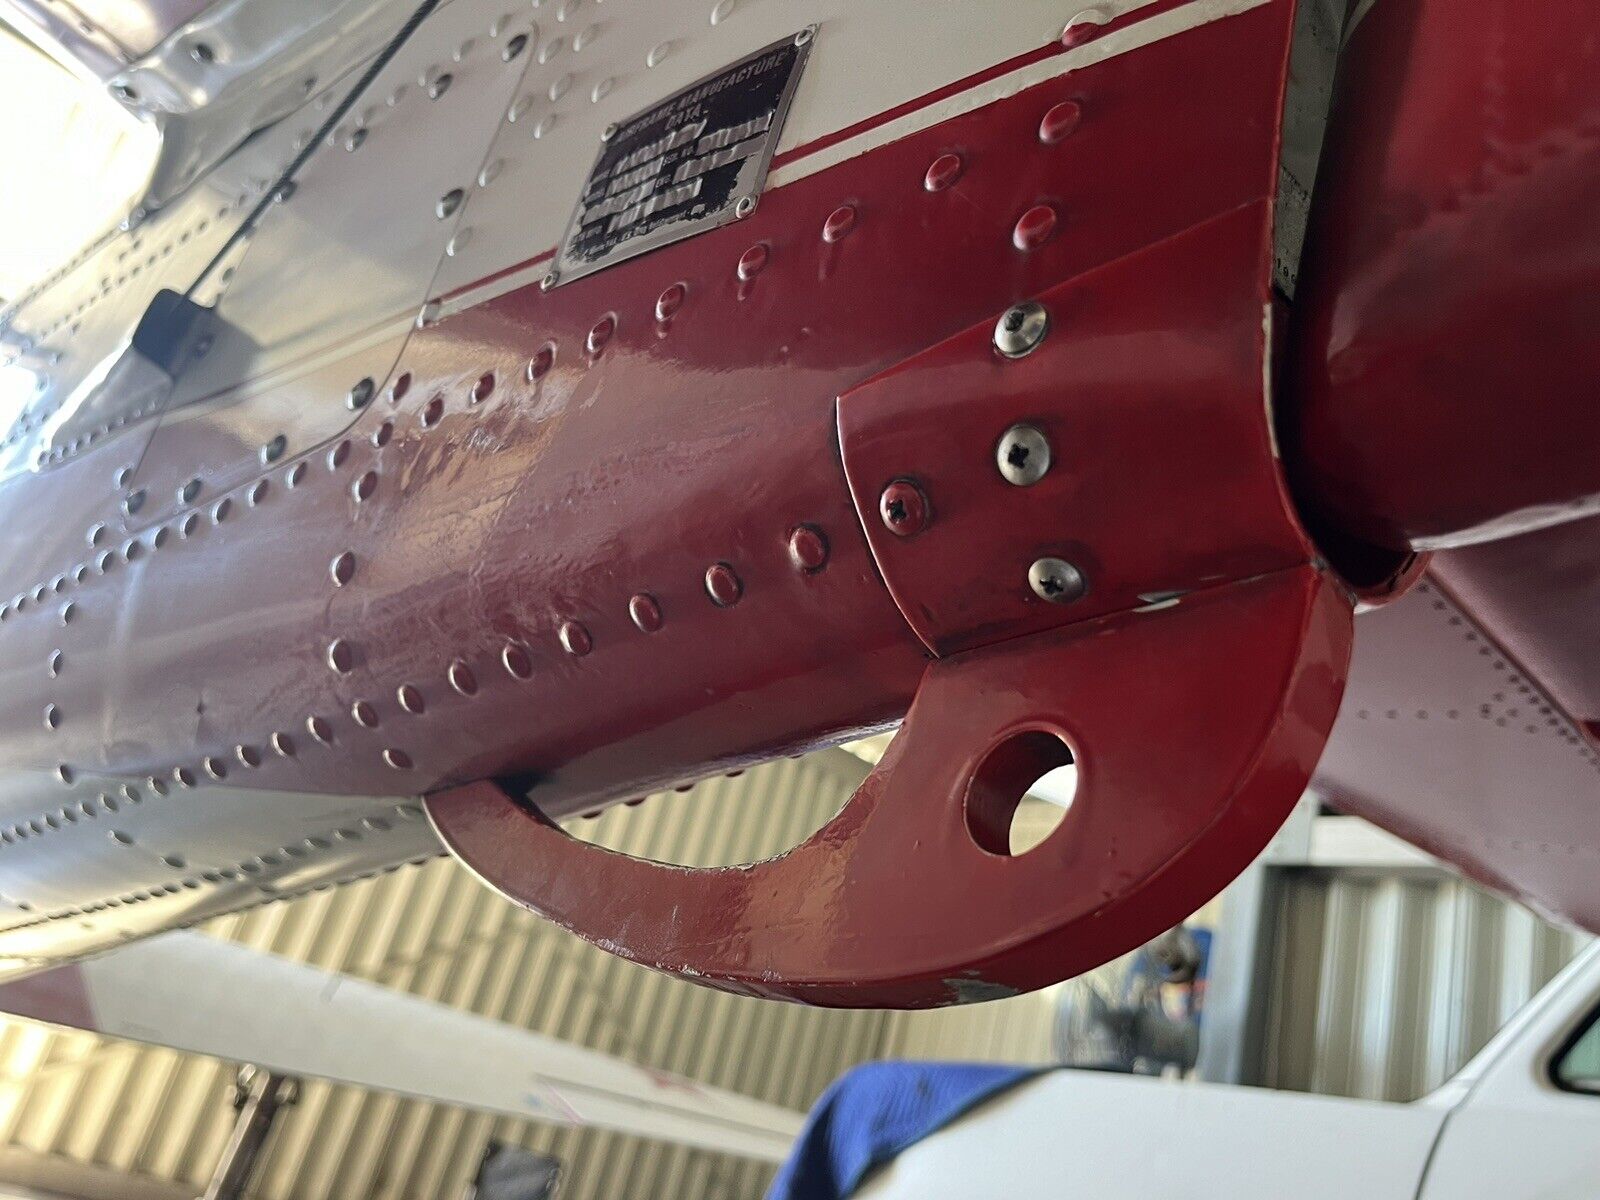
First, it needs to support the entire weight of a full-grown pilot clinging to it, as they try to raise the nosewheel if ever they have allows the plane’s nosewheel to castor over to full lock.
Second, once the plane is rolling straight again, you can steer your 52 from the tailskid. Pushing the tailskid to the right will make the nosewheel castor to the right and vice versa.
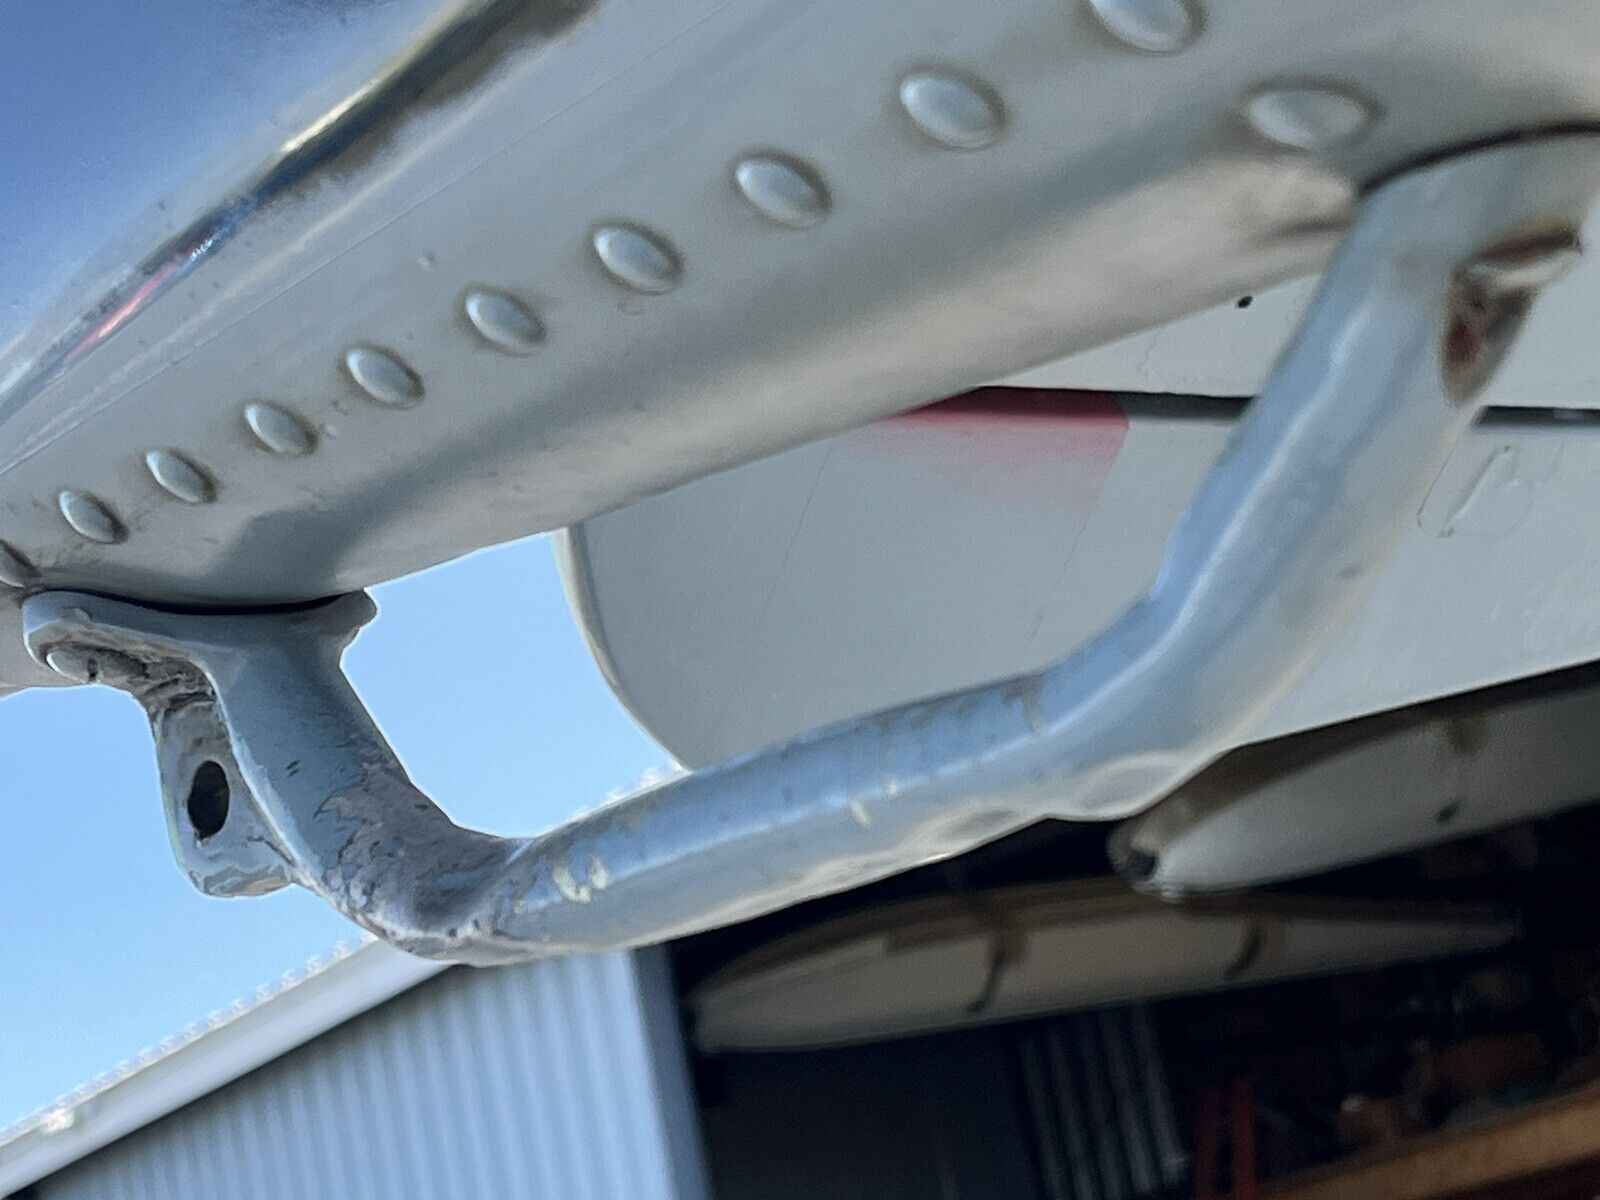
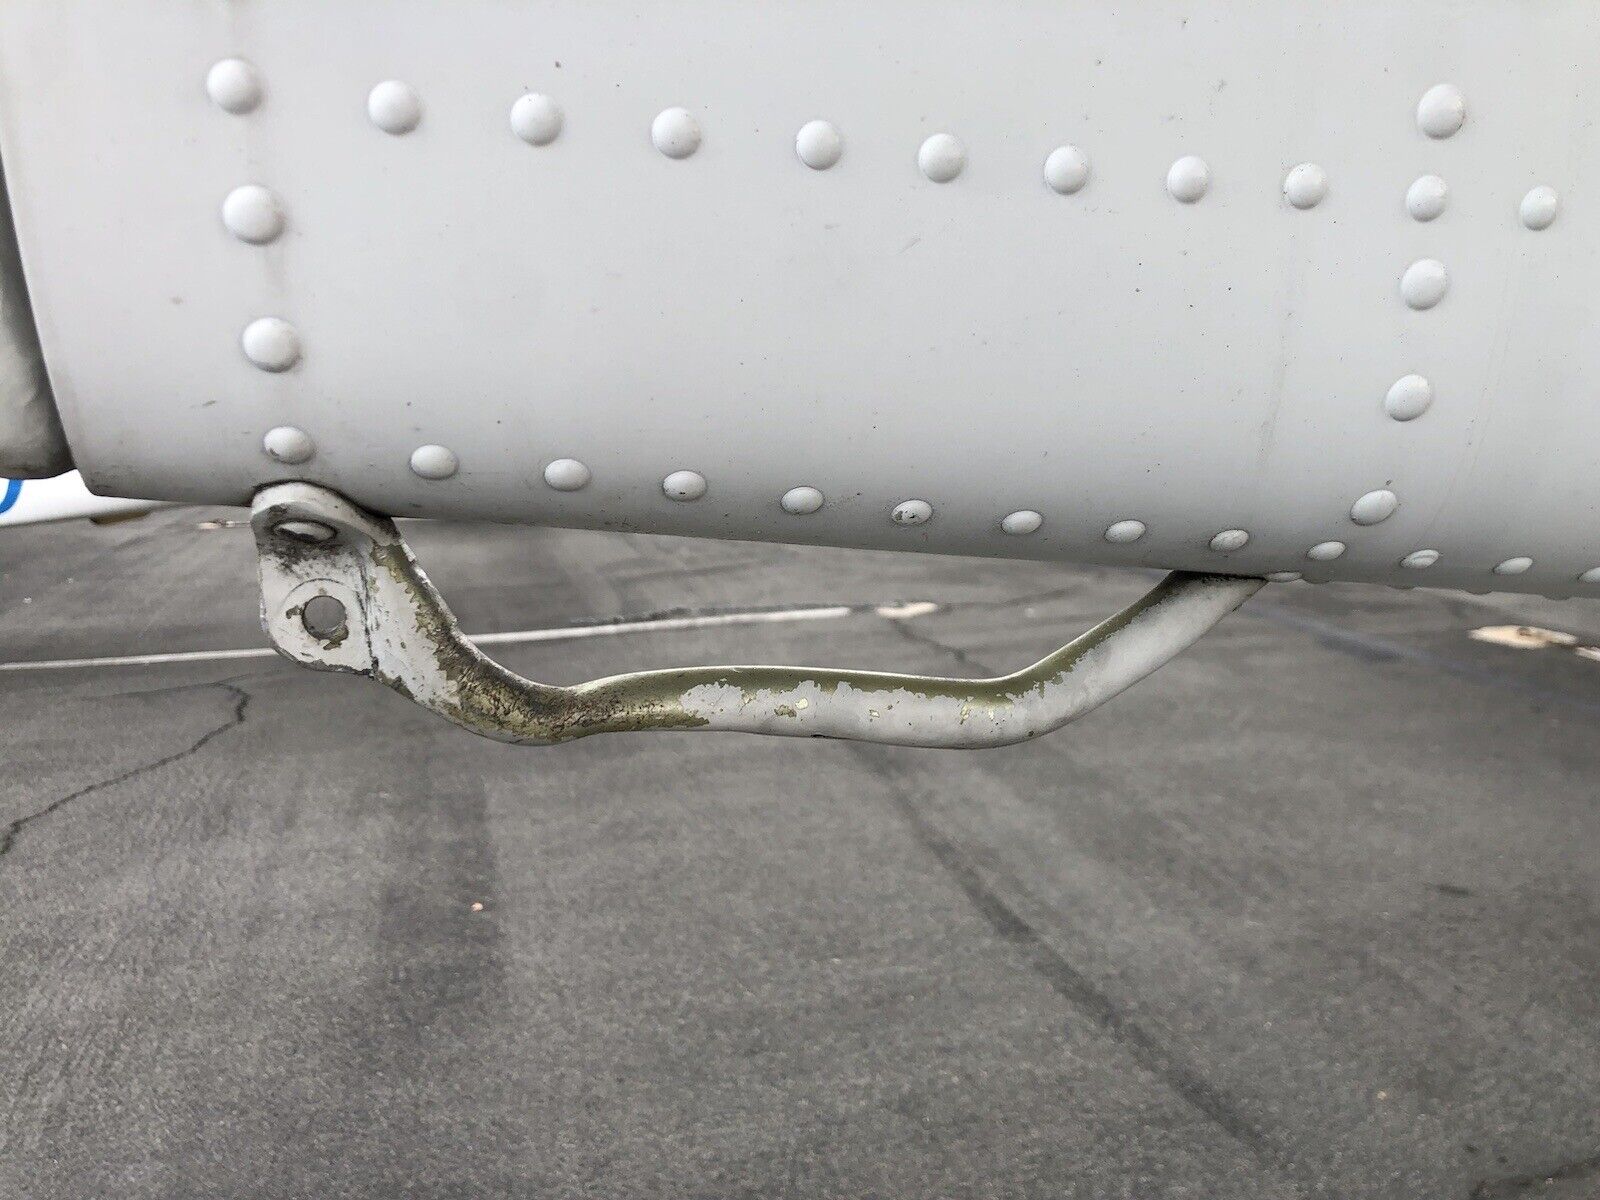
Third, the factory part was designed to absorb energy in an unintentional tail strike, by permanently distorting.
If the tailskid didn’t deform, that strike energy would instead be transferred to the sheet metal structure of the tail cone, which is much more costly to repair.
You will see aftermarket tailskids on Yak 52’s made from solid aluminum plate. These meet the first two criteria above but, being very robust, possibly not the third.
The factory considered it a wear part & designed it to be easy to replace.
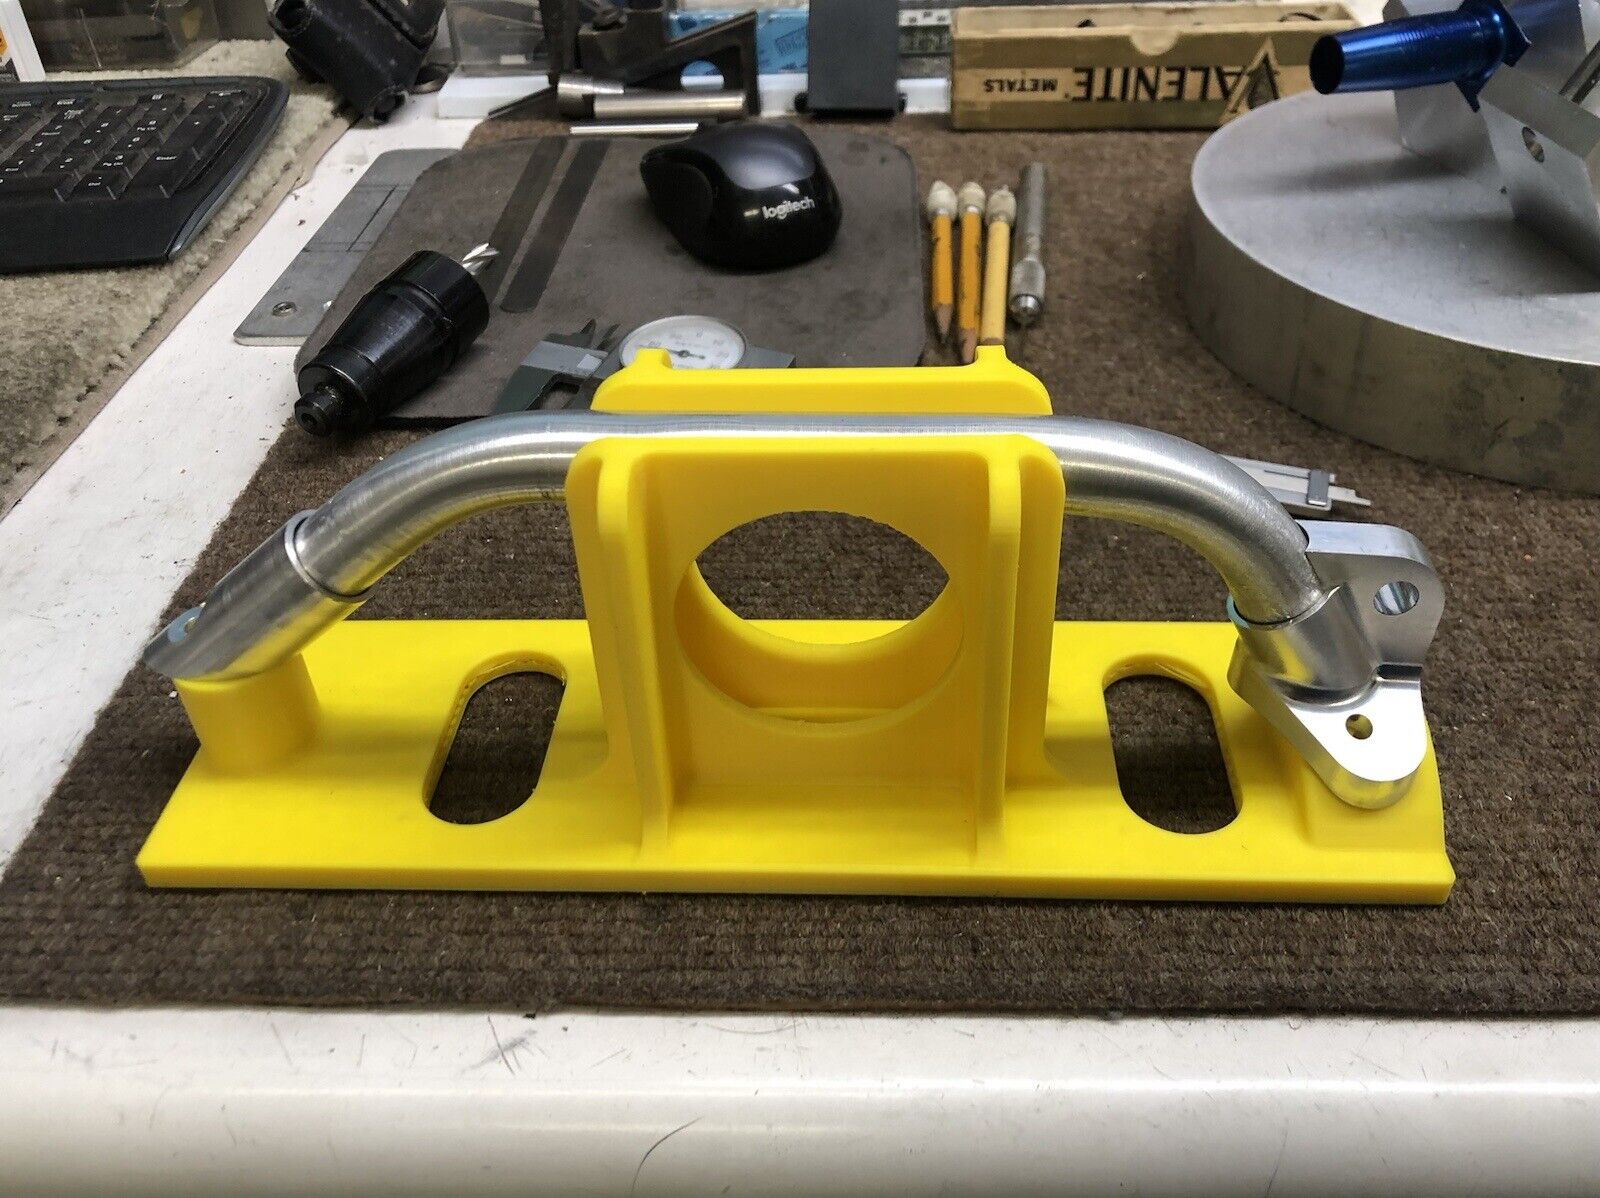
TYC now supplies these Factory Reproduction tailskids, anodized / ready for paint. If your Yak 52 tailskid has already experienced tail strike damage, ask yourself whether it would survive another?
The Removal process begins by taking off the square access panel below the port horizontal stab.
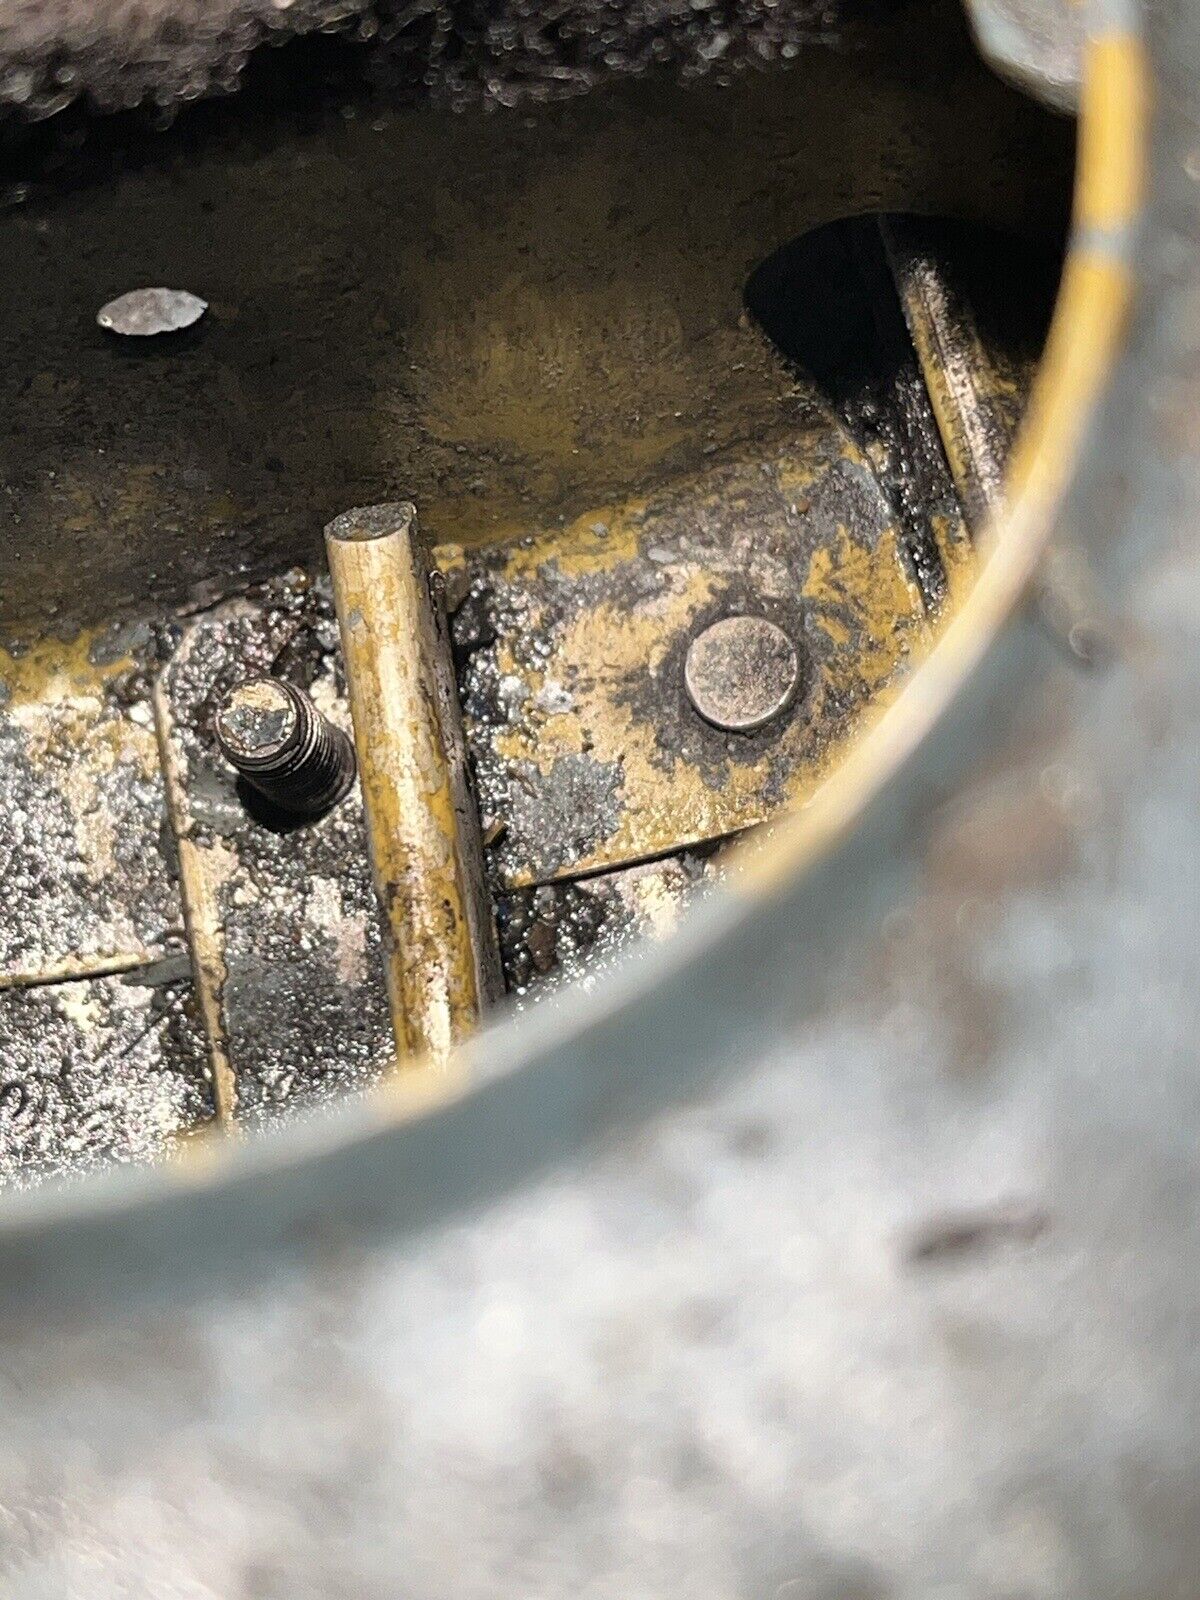
Through here you’ll see the three M5 x .8 locknuts that hold the tailskid in place.
Tailskid Fastener Removal is easy using a flat blade screwdriver outside and an M7 open-ended wrench inside.
However nut re-installation is difficult because of limited access into the recesses of the tail cone.
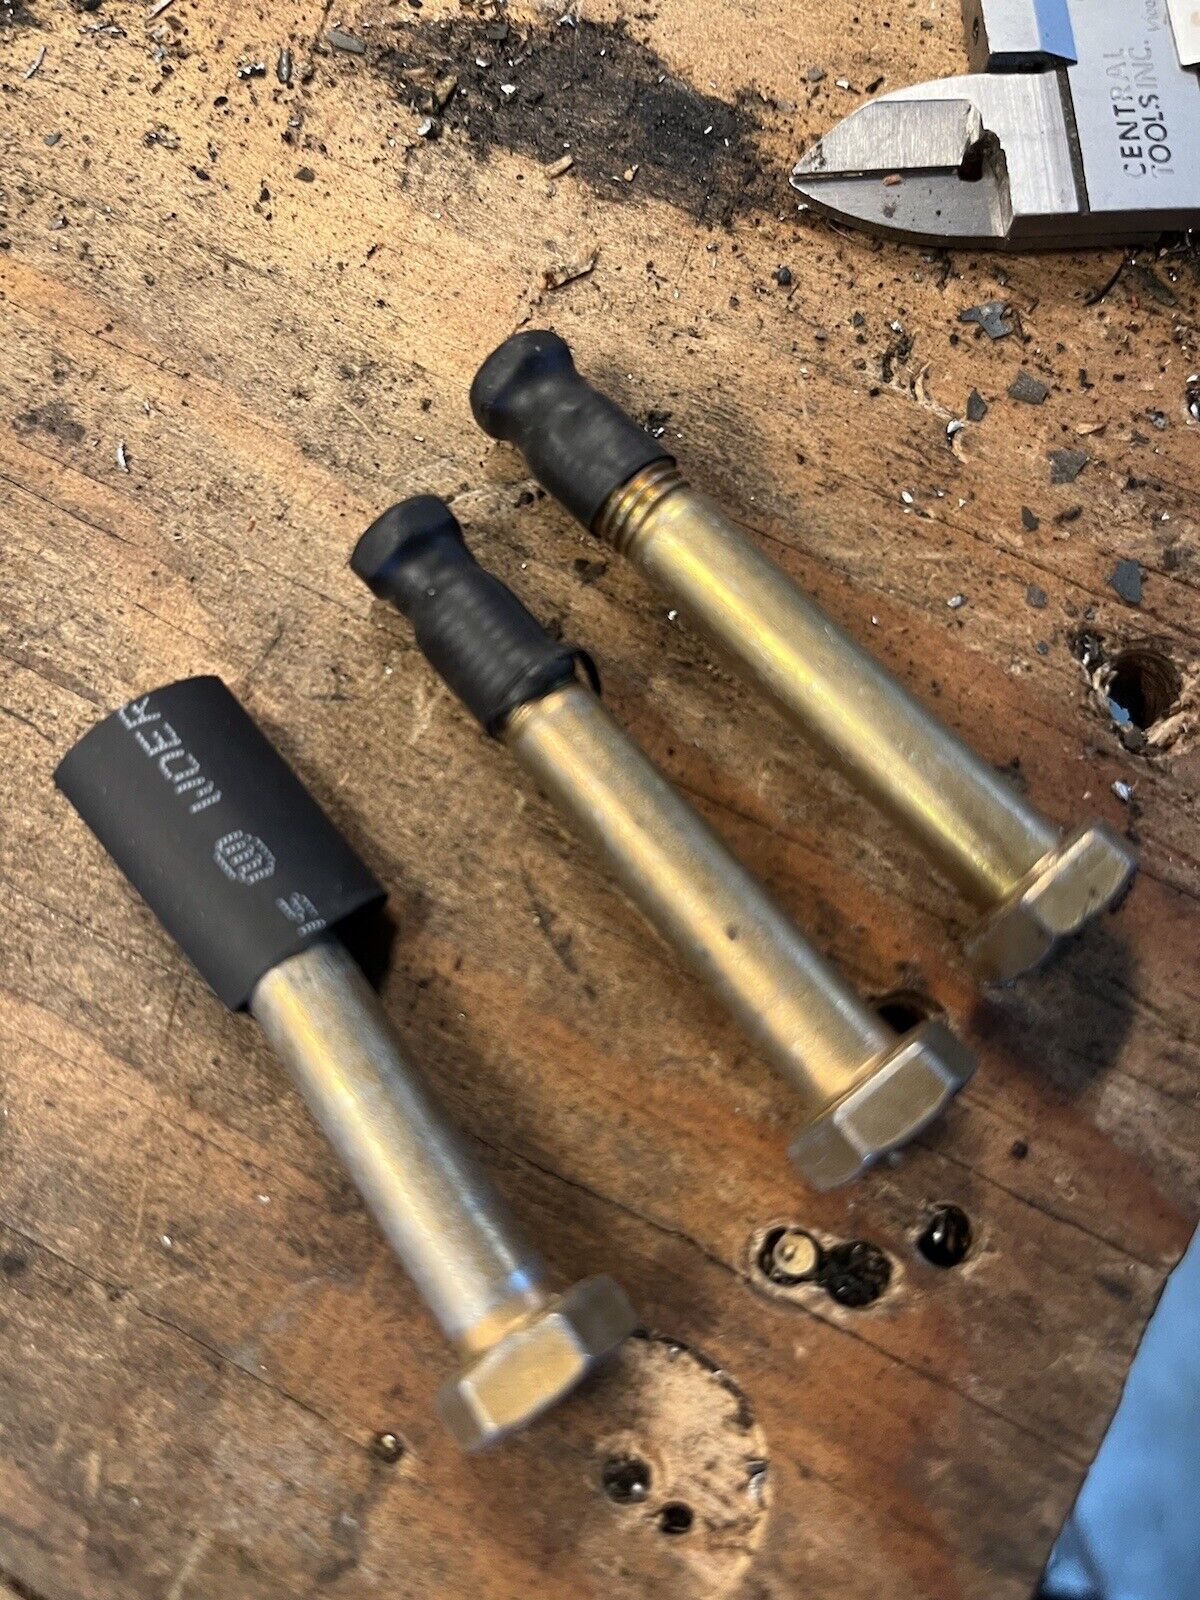
Included in the kit is a simple tool to use with shrink tubing ( provided) to help reinstall the locknuts into the tailcone’s remote depths
* Make sure the original 3 factory M5 x.8 collapsed thread locknuts are clean & free from grease.
* Cut a 3/4” long piece of the shrink tube provided. (You will repeat the following procedure for each fastener.)
* Slip it over the full height of the nut plus the threaded end of the tool, pressed against the top of the nut
* Use a heat source ( shrink tube gun, hair dryer, cigarette lighter in decreasing order of fitness for the task) to shrink the tube around the assembly.
* Make sure you can see visible tightness over the threads of the tool.
* Lower the assembly in place as you engage the factory M5 screw from below
* Note all three screws are M5, however the front screw is a different length from the rear two
* Once you feel definite thread engagement pull to separate the shrink tube from the nut and switch to an M5 socket or 7mm wrench to complete the job
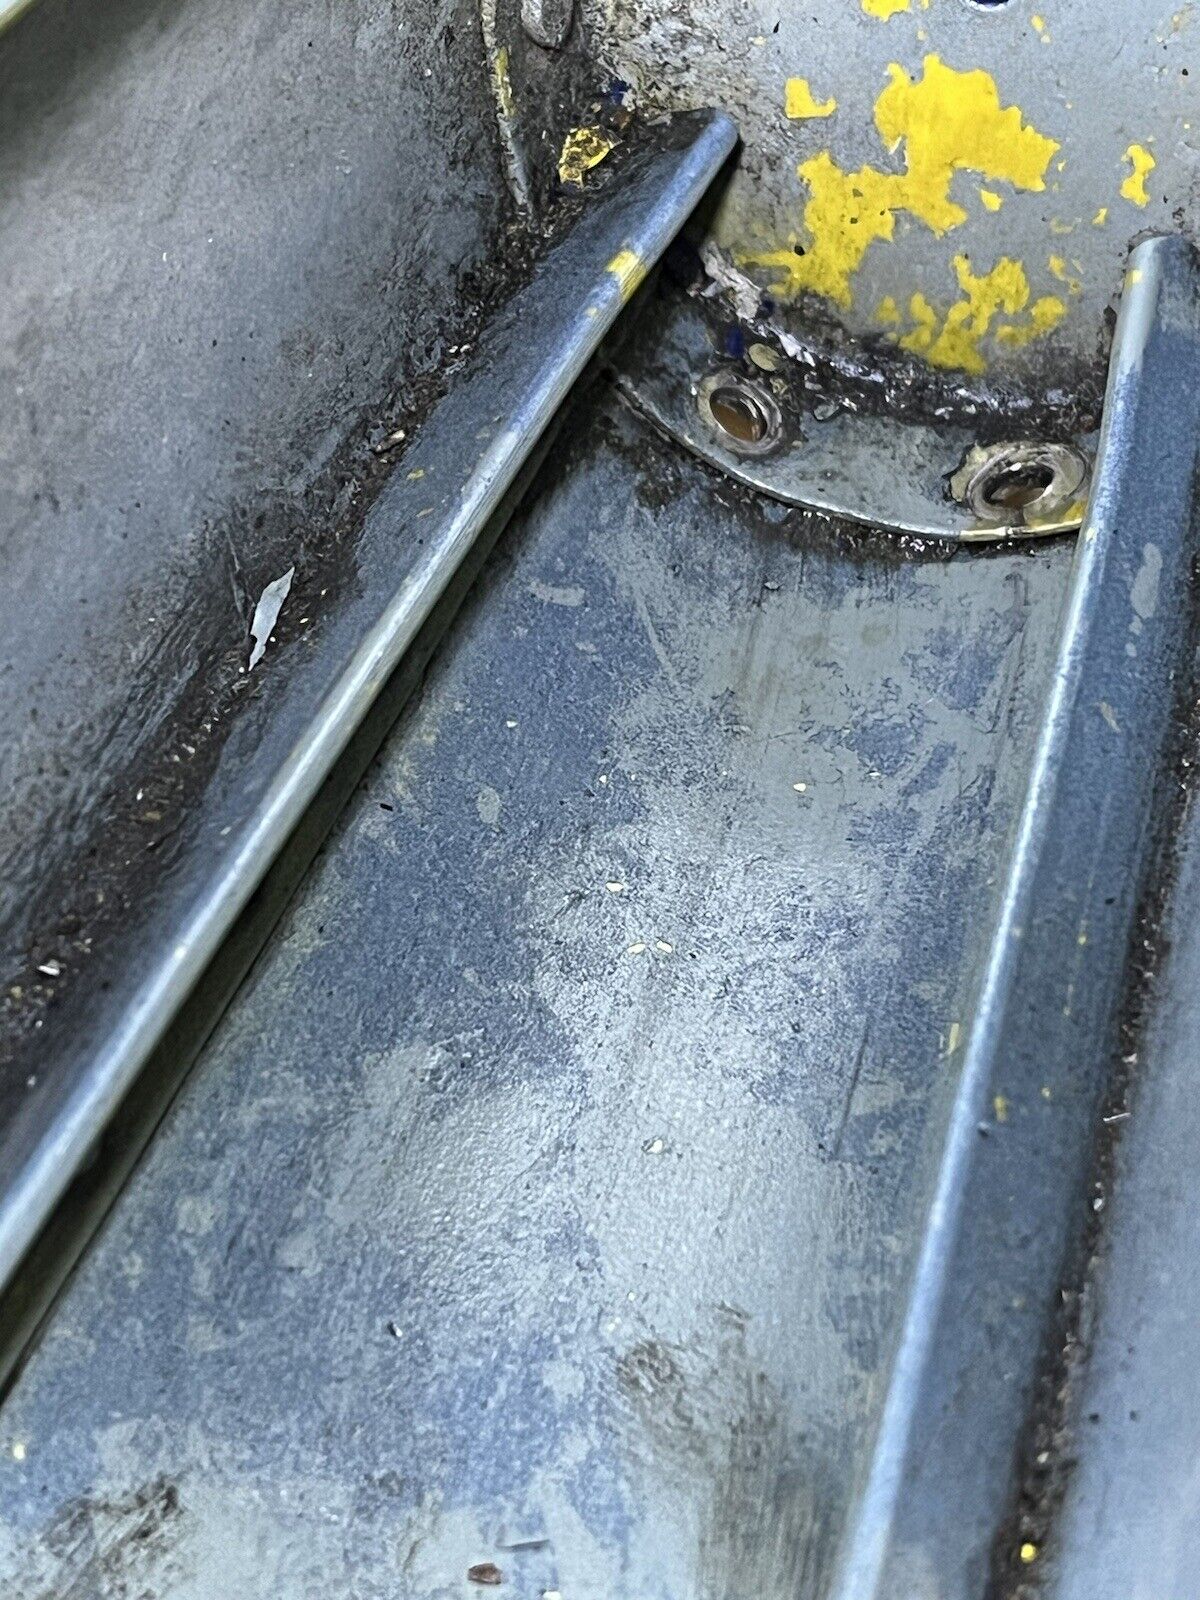
* Note in the photos of the fuselage interior how close the front fastener is to the central longitudinal stringer. Only an open ended wrench 7mm will work here.
New M5 fixing screws, Shrink tube, tool and printed instructions included.
